Hosting Minecraft on Ubuntu Server
Table of Contents
Sources
Official Minecraft Java information: https://help.minecraft.net/hc/en-us/articles/360058525452-How-to-Setup-a-Minecraft-Java-Edition-Server
System Setup
Install Ubuntu Server and make user
You can use the Ubuntu Server page to get help and OS installation tips for this step.
Make a non-root user and log in as, or switch to, that user.
Update & Upgrade
Update your package lists and upgrade.
sudo apt update

sudo apt upgrade
Install required software
OpenJDK
The latest version of Minecraft Java requires a runtime of version 21 or higher. This command will install version 21 of the OpenJDK runtime environment.
sudo apt install openjdk-21-jre
Screen
Screen is used so you can leave the Minecraft terminal without closing the application.
sudo apt install screen
Get the server software
Make a directory
Make a new directory and move into it.
mkdir minecraft_server

cd minecraft_server
Download the software
Official game source: https://www.minecraft.net/en-us/download/server
Right click and copy the link for server software.
If you are on a server environment without access to a GUI you will want to paste the URL somewhere you can read it, like a text editor on your phone or another computer, then type out the URL in the command below in your terminal.
If you are in a remote session and have access to a GUI and your terminal then you should be able to paste the URL in the command below using Ctrl + Shift + v.
Download the software with the wget command followed by the URL for the version you want, either pasted in or typed in.
wget https://piston-data.mojang.com/v1/objects/6bce4ef400e4efaa63a13d5e6f6b500be969ef81/server.jar
First run of the Server
Initialize the files
This command will start the server. If it is the first time the server will stop right away so you can agree to the terms first.
sudo java -Xmx1024M -Xms1024M -jar server.jar nogui
Agree to the terms
You must agree to the Minecraft / Microsoft End User Licence Agreement by editing the eula.txt file.
sudo nano eula.txtUse the arrow keys to move your cursor. Replace FALSE with TRUE. Then press Ctrl + x to exit and then y to save when prompted.

Configure the server
You can now edit the server settings.
sudo nano server.propertiesThe community "Minecraft Wiki" has detailed information on settings for the properties here: https://minecraft.wiki/w/Server.properties
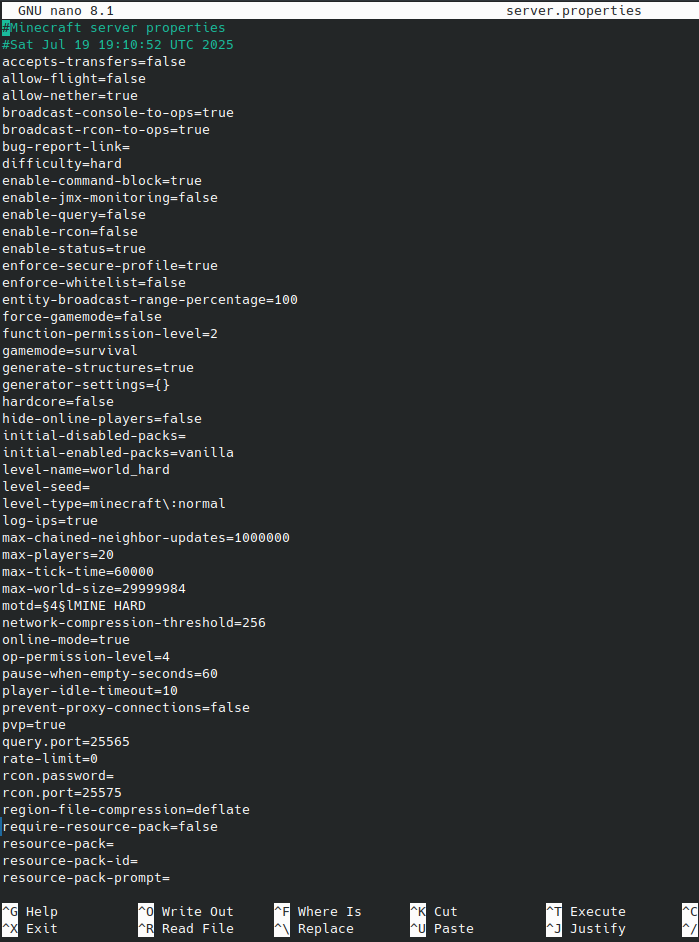
Again use the arrow keys to move your cursor. Edit as needed. Then press Ctrl + x to exit and then y to save when prompted.
Running the Server
Start a screen session
Minecraft will close if you close the current terminal session, so you will likely want to start a screen session if you are connecting remotely.
screen -S minecraft
Start the server
Run the command below while in the server directory.
Here is a breakdown of what is going on:
- java starts the java runtime environment.
- -Xmx4096M this sets the maximum memory [RAM] limit for the game server, in megabytes.
- -Xms1024M this sets for the starting memory [RAM]amount for the game server.
- -jar indicates that you are using a JAVA Archie application.
- server.jar the filename of the server application from Mojang.
- nogui runs the server without an graphic interface. You will have a terminal interface.
sudo java -Xmx4096M -Xms1024M -jar server.jar noguiChange the memory amounts to fit your use.
Using server commands from the terminal
You can use the server terminal to give operator permissions and add people to the whitelist.
Leaving the screen session
If you used a screen session you can leave the Minecraft console and keep the game running by pressing Ctrl + a then d
Port Forwarding
Minecraft's default port is 25565.